


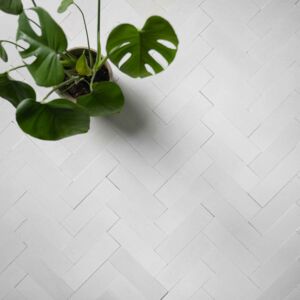
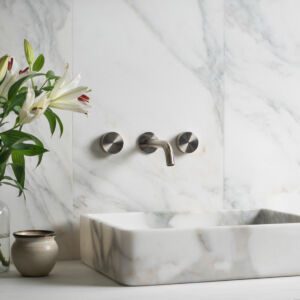


What are Marble Herringbone tiles?
Marble Herringbone tiles are rectangular tiles that are laid diagonally side-to-end, creating a zig-zag effect across the floor/walls.
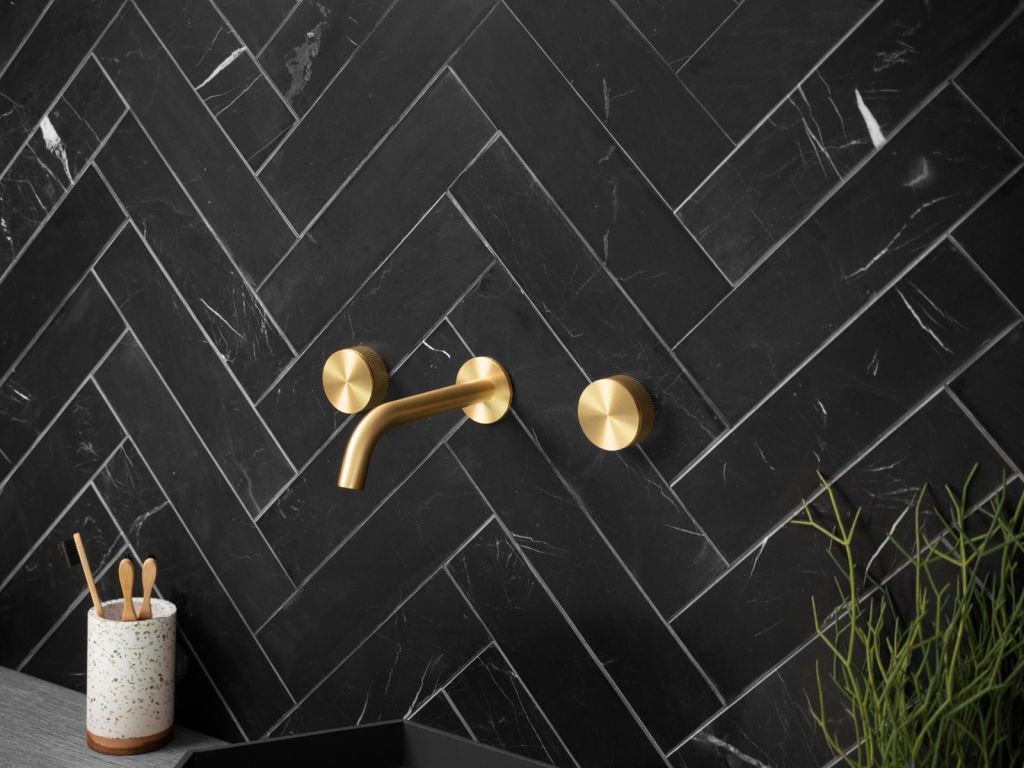
This distinct pattern has been used for centuries, not only on floors and walls in bathrooms and kitchens but also in high-end bars /restaurants, and hotels and is found in clothing designs too.
But not to limit yourself there…. Why not create an interesting and inviting kitchen splash-back and/or even a bespoke feature wall. Give your friends and family / even your acquaintances a focal point, That will ensure to get them talking.
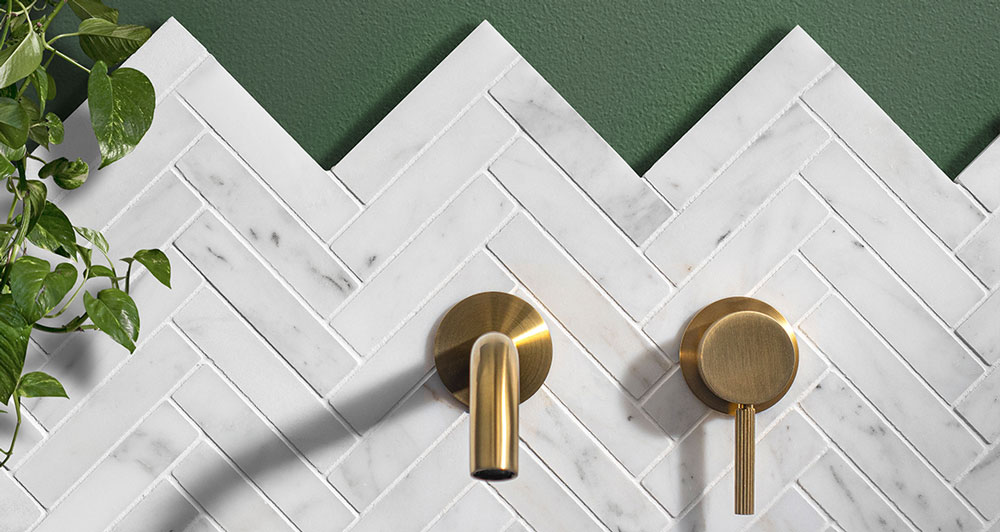
Herringbones consist of parallel lines that slant in the opposite direction creating a ‘V’ shape. The herringbone pattern also resembles the skeletal structure of a herring, Hence the name.
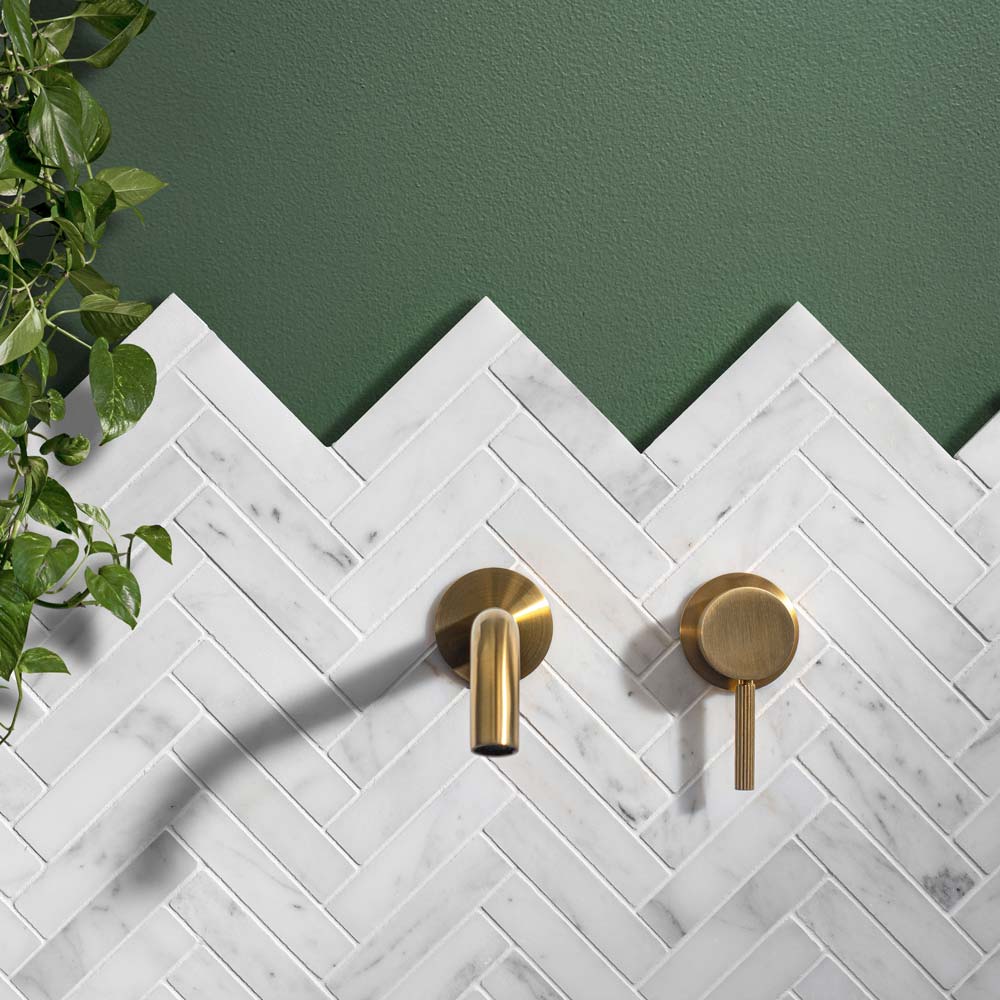
The tiles are meant to be thin and rectangular in order to create the desired effect. But do come in a variety of shapes and sizes. With Marble Herringbone, No tile is the same, thus giving us a unique and quirky in-depth, yet classic finish.
Check our website www.starelstones.co.uk for our tiles, and see for yourselves the many projects you can use them for. Including walls, steam rooms, floors, kitchens, bathrooms, feature walls, and many other possibilities.
Different types of herringbone tiles: There are two types of herringbone tiles!
With our Marble Herringbone tiles, they arrive in two formats.
Singular– Each tile comes as they are, pre-cut and beautifully finished. Ready to be installed, to your specifications.
Mesh sheet– Our tile’s also arrive in pre-laid sheet format. 30cm x 30cm estimated.
How to install Marble Herringbone Tiles: Please ensure you order 15-20% extra tiles for your project!
- You need to clean the tiles from any dust or debris. You can do this with a wet sponge and dry with a micro-fiber cloth.
- Apply a thin layer of sealant, to protect the tile’s surface and provide longevity.
- Mix a batch of mortar following the manufacturer’s guidelines (Please ensure you buy the whitest as this will seep through the natural stone). You can do this with a drill and mixing attachment.
- After you have waited for the mortar to set slightly (around 10mins-varies) You can start laying down your desired pattern. Please do not tread on the tiles pre-fit- They will break!
- Working in small sections using a spackle knife & trowel. Smoothing it with the flat side of the notch trowel. Once smooth run the notched side over.
- Finely cover the entire backside of the tile with mortar. Placing the tile down with required spacers. Regularly go back to check they haven’t floated away.
- Ensure that any excess mortar on or around the tile is removed before the mortar setting.
- Cutting tiles with a tile-saw, They have water running through them to prevent the blade of the saw from getting hot.
- After the tiles have dried, apply grout by dragging a float. Removing any excess with a wet sponge, and Changing your water frequently.
- After the grout has cured it’s advisable to remove grout haze with a damp, then dry micro-fiber cloth.
- Finally, add more sealant to the tiles with a micro-fiber cloth.
Marble Herringbone- The Ultimate Buyer’s Guide
Here at Starel Stones we are proud to have years of knowledge and expertise on marble products.
Using the best modern equipment, and high-grade natural materials. Crafting the perfect genuinely-flawless looking tiles, mosaics, basins and much more.
Whether that be our handmade and detailed encaustic-cement tiles produced with natural pigments or with our natural stone products, ranging from basins to pencil liners.